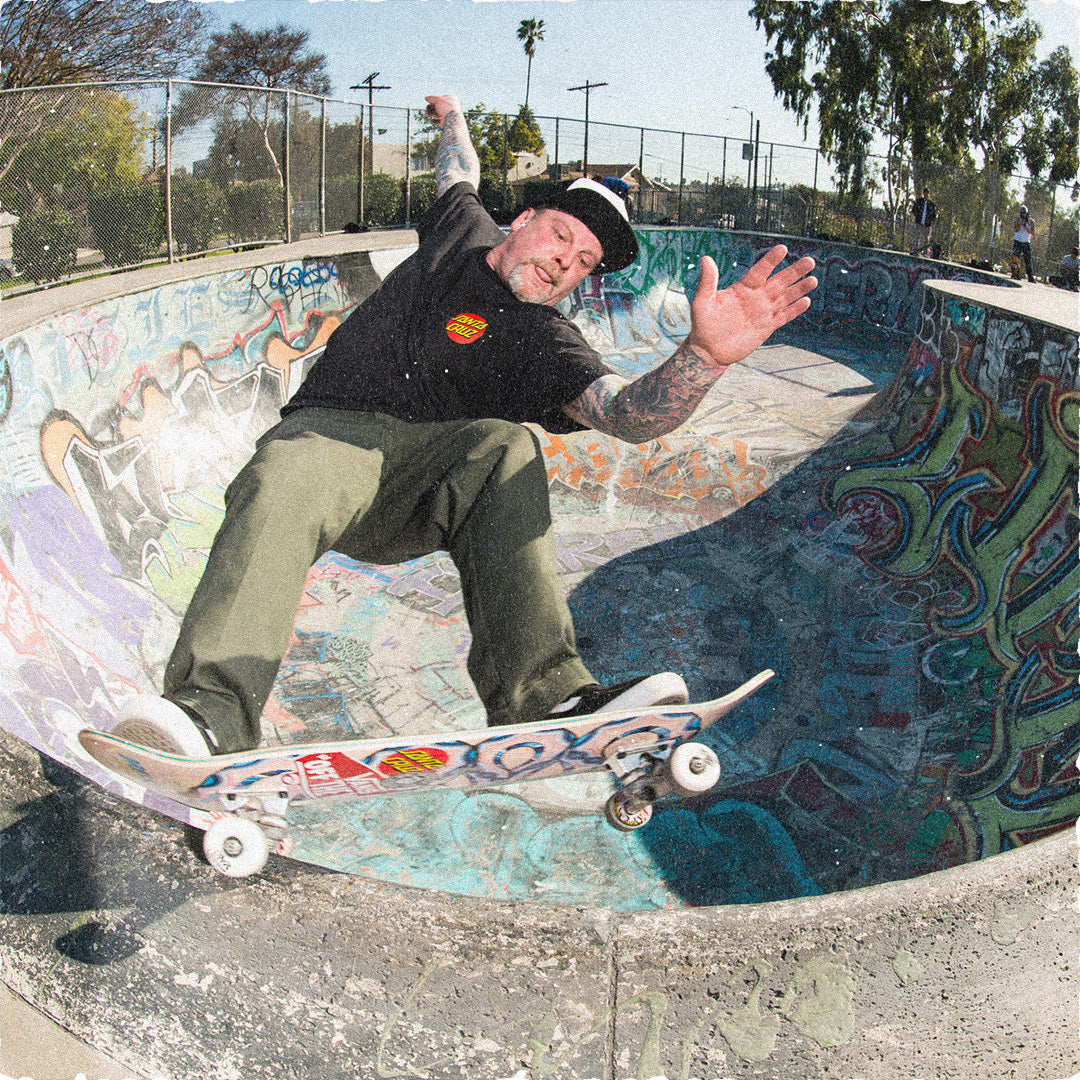
How To Assemble A Complete Skateboard
Ready to shred but your board is in pieces? Skateboarding legend Ron Whaley is here to walk you through putting your skateboard together.
Before You Start
First, make sure you have all the necessary skateboard parts:
- Skateboard Deck
- Grip Tape
- Trucks
- Wheels
- Bearings
- Hardware
You will also need some tools:
- Razor blade
- Skate Key/Tool
If you don’t have a skate key, you can use an adjustable/crescent wrench or wrenches in the following sizes:
- 3/8 wrench - for the mounting hardware.
- 1/2 wrench - for the nuts that hold the wheels on the truck
- 9/16 wrench - to tighten or loosen the trucks
You will also need a phillips head screwdriver for the mounting hardware.
Unless your mounting hardware uses an allen head. Usually allen head hardware comes with an allen key.

Got all the stuff? Excellent. Let’s put it together.
Step 1: Grip the deck.
Peel the paper backing off the grip tape. Be careful not to let the grip fold and stick to itself.
Holding the griptape by the ends, lengthwise, lower the sticky side of the grip tape on to the deck.
While doing this, let the grip bend in a U shape. That way the grip touches the middle of the deck first.
Very lightly, lay the grip tape down making sure it covers the entire deck. That way if it’s not on perfectly you can just lift it back off the deck.


If there are no major bubbles or wrinkles and the grip tape covers the deck you can start to push griptape down on to the deck. Little bubbles are ok, you can just poke them with the razor blade.
Push the grip down from the middle of the deck and moving outward towards the edges.
Put the deck on the ground and step on the grip tape. Walk all around making sure the griptape is especially stuck to the top of the deck near the edges.

The grip tape should be well stuck on the deck.
Using the screwdriver or the skate key, scrape the gripe tape on the top edge of the deck.
Scrape all around the edge of the deck to where you can see the outline of the deck shape.

This will make the grip tape easier to cut and will prevent the grip tape from peeling up on the edges while skating.
Take the razor blade and cut from the under side (sticky side) of the grip tape. Cutting all along the edge of the board at a slight angle. Cutting in line with where the grip tape was scraped.
Cut all of the excess grip tape and save the scraps. Use them to sand the edges of the deck and grip. This will also help the grip tape from ever peeling up.

All gripped? Nice.
Time to poke the holes through the grip for the mounting hardware. You can use the phillips head screwdriver to find the the covered truck mounting holes and push through the grip tape into the holes. You can also use something sharp, like a nail, to get the holes started.

Step 2: Mount the trucks on the deck
Once you have the holes poked, insert the hardware bolts into the deck from the grip tape side.

Mount the trucks on to the deck with the kingpins facing the middle of the deck and each other.

Screw the nuts on to the bolts and use the skate key or 3/8 wrench to tighten the nuts.
Holding the bolts in place with the screwdriver from the top.

Tighten the bolts enough to where the tops sink just enough into the deck/grip to where the bolt head

